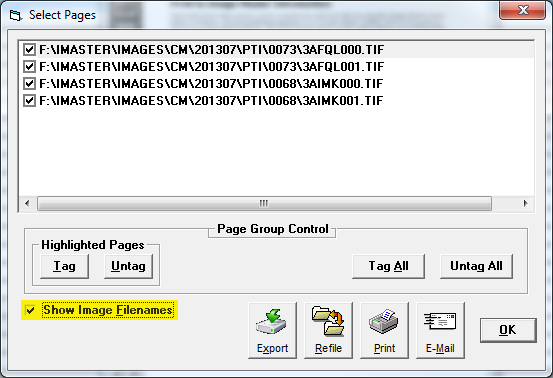
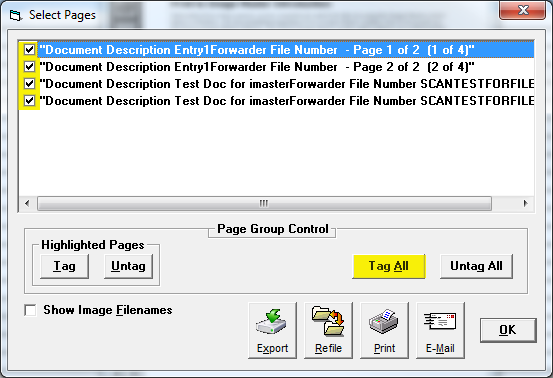
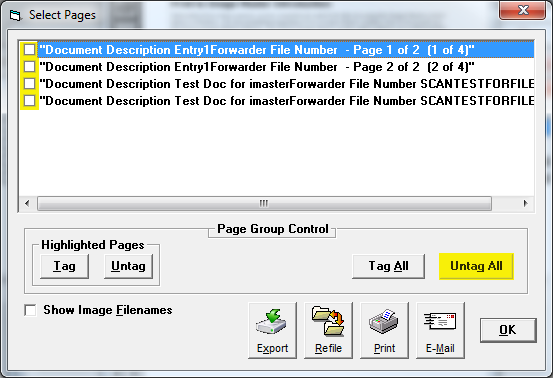
vMedia FullView Select Pages Dialog BoxIconsThe Select Pages icon opens a opens a Select Pages dialog box with a variety of options for the entire scan set. File Names Not Shown
NOTE: In the following graphic, the network path points to an IMASTER folder; however, depending on how vMedia is set up, it may actually point to a vMedia folder. Show Image Filenames
Tag All
Untag All
Select Pages - [Export] Button
Tag the files to export and then click on the [Export] button. If no files were tagged, a FullView Page List Error message will appear that provides an additional selection option for exporting pages.
If files were tagged, a Save As dialog box opens. Browse to your desired location and save the tagged pages as a PDF or as a TIFF.
Select Pages - [Refile] Button
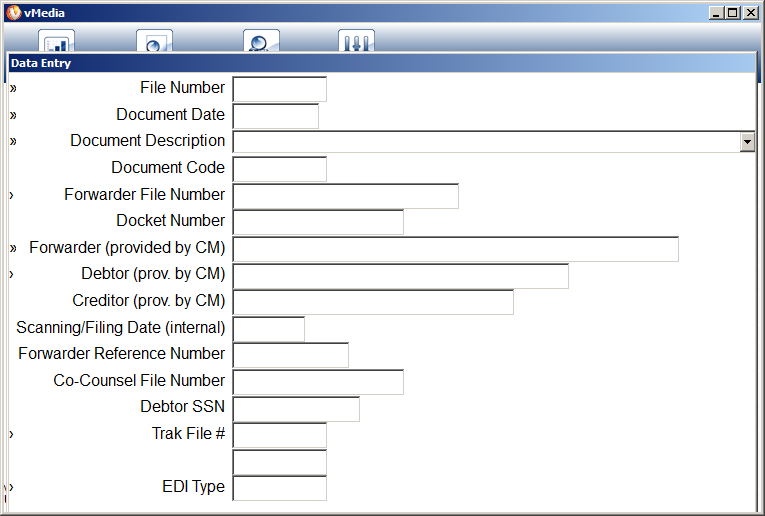
Tag the files to re-file and then click on the [Refile] button to open the Refile Document Control option. Make the desired filing options in the vMedia data entry window.
Select Pages - [Print] Button
Tag the files to print and then click on the [Print] button to print to your default printer. Select Pages - [E-Mail] Button
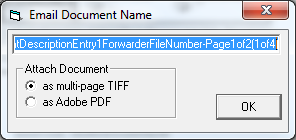
Tag the files to email and click on the [E-Mail] button and then select the type of file to attach.
Related Topics |

